How to Perform CPR and Choking Relief for Infants

What to do if your baby is choking
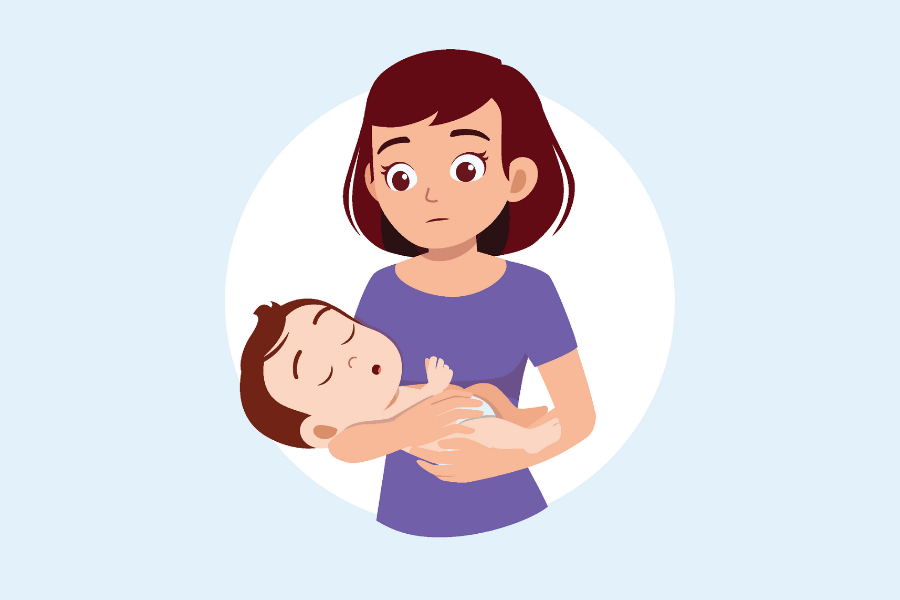
Choking is a common cause of injury and death in young children because their small airways are easily obstructed. Here’s what you can do to save your child, if he/she chokes on a foreign object.
Look for choking signs and symptoms, such as
- Loss of voice
- Difficulty in breathing
- Lips or face turns blue
If infant is conscious
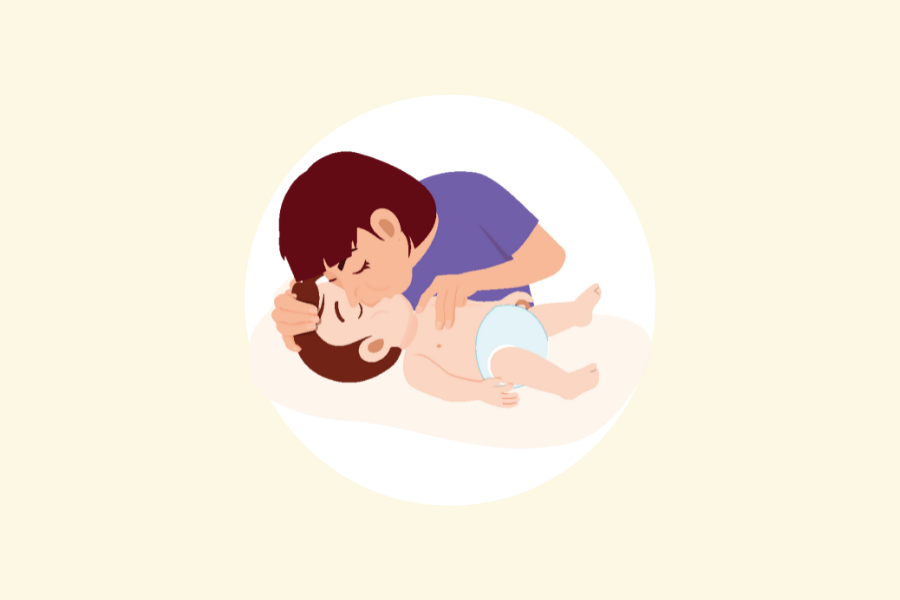
Step 1: Perform 5 Back Blows
Support the infant’s head and neck with your palm and his/her chest with your forearm. Rest your forearm on your thigh. Ensure that the infant’s head is lower than his/her chest.
Deliver 5 back blows forcefully between the shoulder blades with the heel of your other hand.

Step 2: Perform 5 Chest Thrusts
Turn the infant on his/her back. Support his/her back with your forearm and rest your forearm on your thigh.
Place 2 fingers on the centre of the breastbone just below the nipples.
Deliver 5 chest thrusts.

Note: If infant becomes unconscious, stop immediately and start chest compressions.
Step 3: Check for Foreign Body
Check the infant’s mouth to see if the foreign body has dislodged.
| If foreign body is still not dislodged.
Repeat step 1 and 2. |
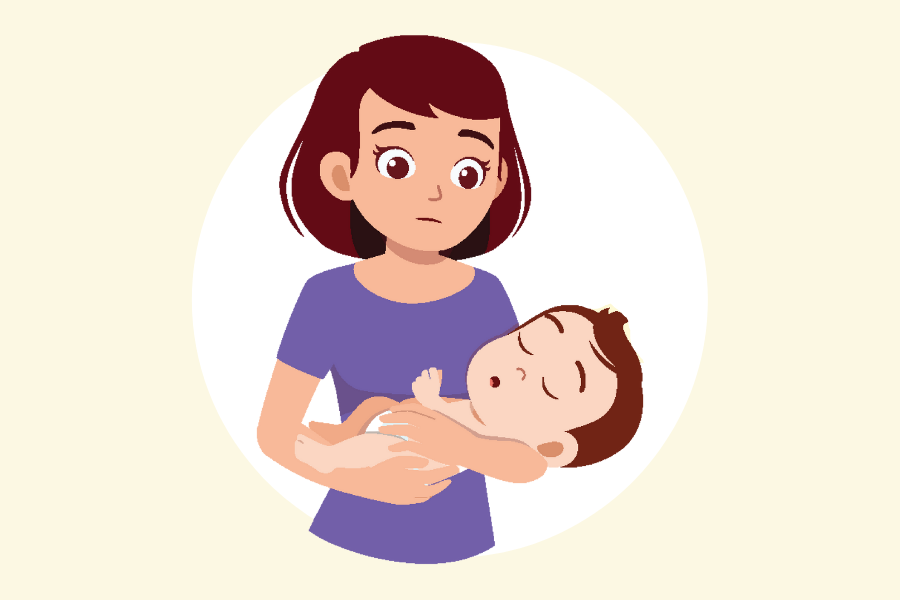
If foreign body is dislodged
Place the infant on a firm flat surface and remove the foreign body with your little finger in a hooking action. Carry the baby to the nearest GP.
|

If infant loses consciousness, follow the next step.
If infant is unconscious
Step 1: Shout for Help and Ask for an AED
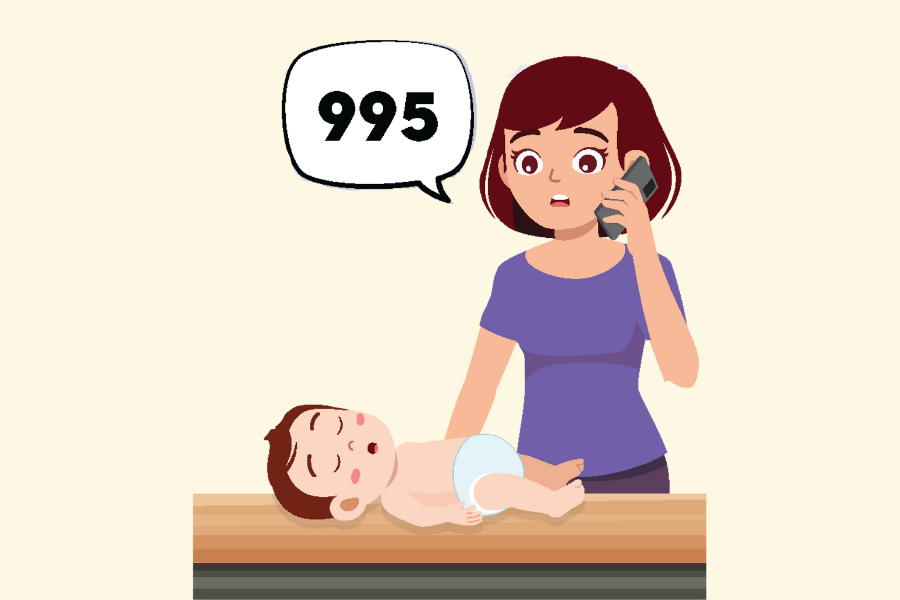
Place the infant on a firm and flat surface and call 995 for ambulance immediately.
If someone is nearby, get them to retrieve an AED.
Step 2: Start Chest Compressions
Commence 30 chest compressions.
Compress 100 to 120 times per minute, at a depth of 3 to 4cm.
Step 3: Perform a head tilt – chin lift
Perform a head tilt – chin lift to open the airway. Do not hyper-extend.
If a foreign body is visible, remove it using your little finger in a hooking action. Do not perform a blind sweep.
Step 4: Perform ventilation
| If chest rises on first ventilation, check for normal breathing. | If the chest does not rise, reposition the head and reattempt ventilation.
If second ventilation fails, repeat 30 chest compressions. Check for foreign body and attempt to ventilate again. |
Step 5: Continue Chest Compression
If infant resumes breathing, carry him/her till help arrives. Do not leave the infant unattended.
If the infant is still not breathing, start CPR.
Watch this video to better understand the steps:
Infant CPR
Although it is rare for an infant below 1 year old to suffer from a cardiac arrest due to heart disease, it could happen due to traumatic injury or accident, e.g. traffic accident, drowning or choking. If you notice that an infant is not breathing, has abnormal breathing, or is unconscious, do not panic. Just like performing CPR+AED on an adult, follow the steps DRS ABC.
Step 1: Check for Danger
Ensure that the surrounding is safe for you to approach the casualty.
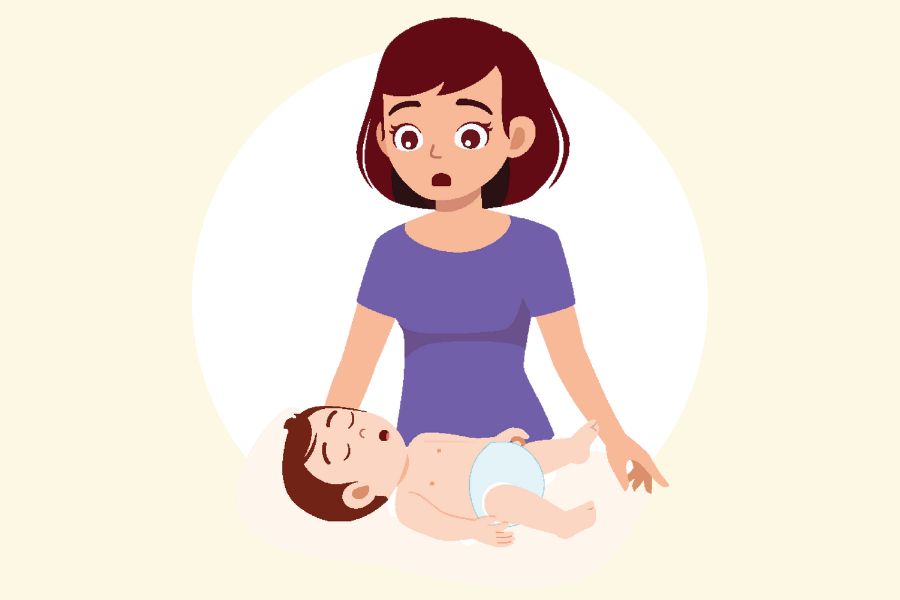
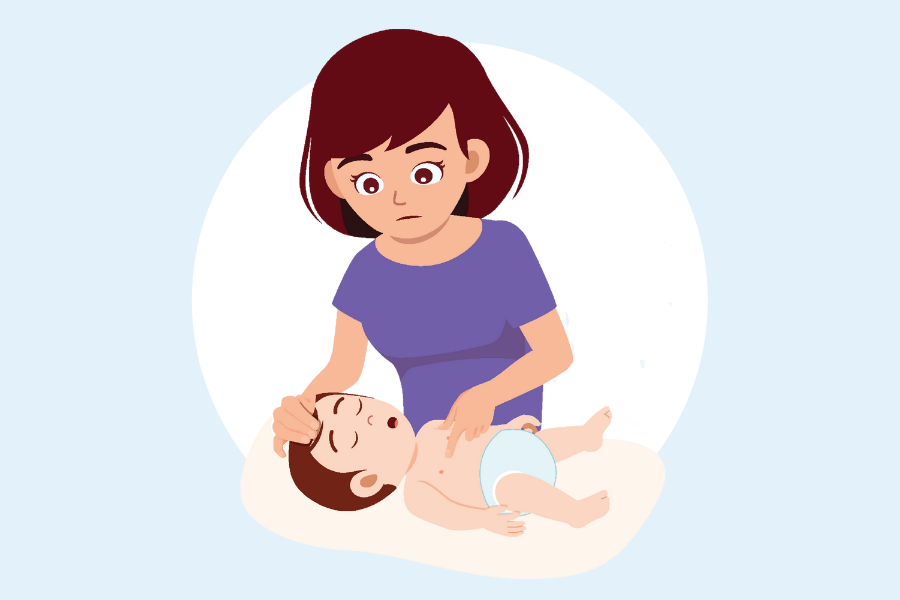
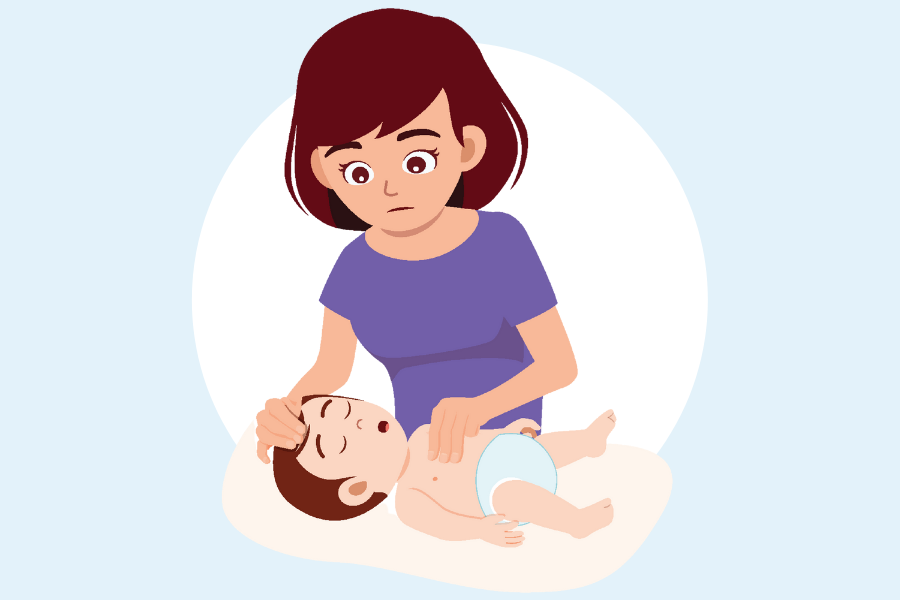
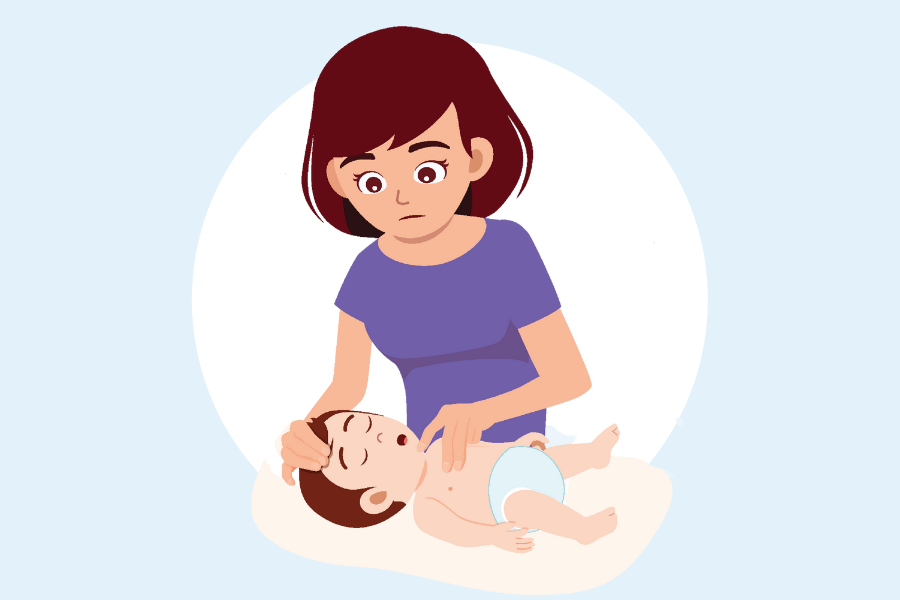
Step 2: Check for Response
Tap the infant firmly on his/her shoulder to elicit a response.
Note:
- Avoid shaking the infant violently as this may result in injury.
- Avoid unnecessary movements of the neck to prevent injuries to the head and neck.
Step 3: Shout for help
Call 995 for ambulance and follow the dispatcher’s instructions.
Step 4: Get the AED
Ask someone to get an AED.

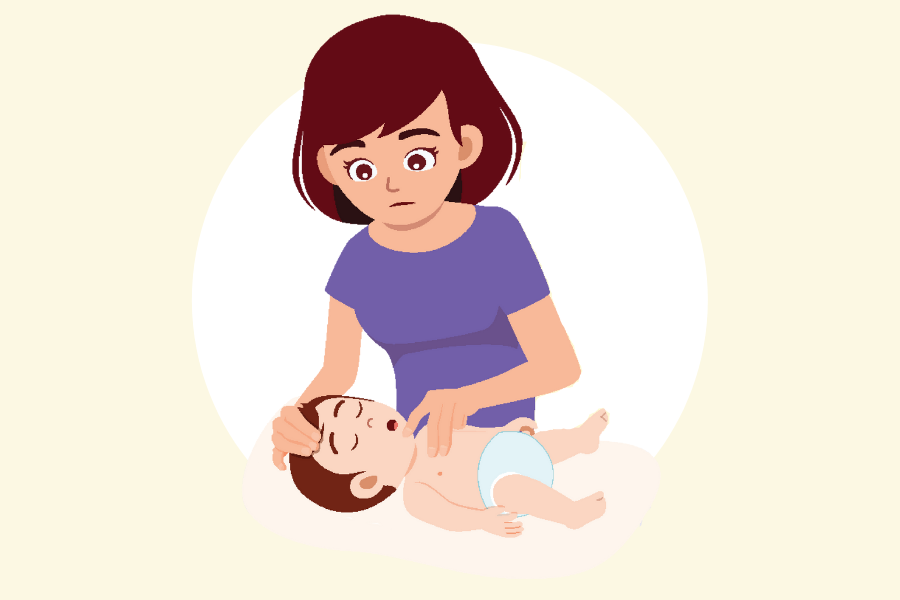
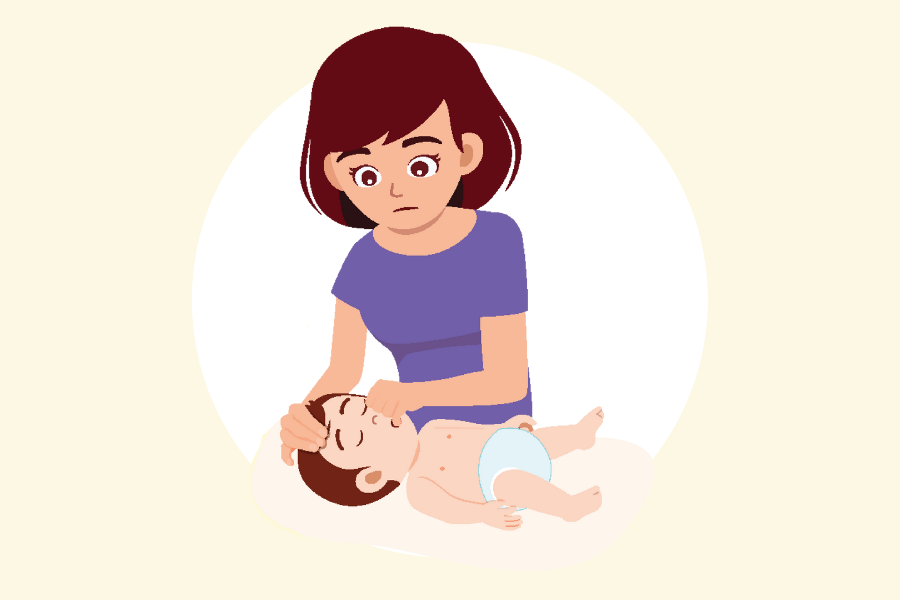
Step 5: Check for Normal Breathing
Look for the rise and fall of the chest for no more than 10 seconds.
When there is no breathing, abnormal breathing and/or in doubt, start chest compressions.
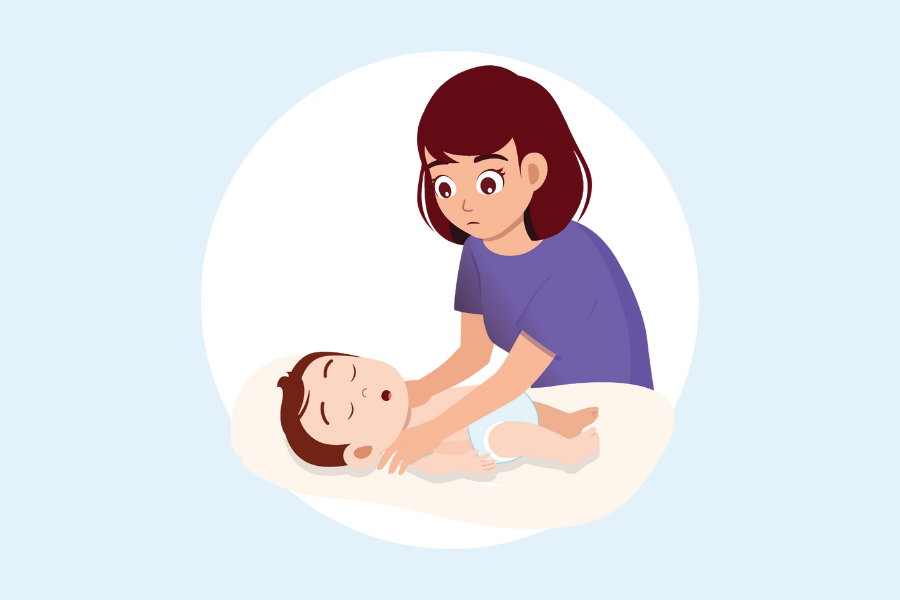
Step 6: Start Chest Compressions
For CPR to be effective, place the infant on their back on a firm and flat surface.
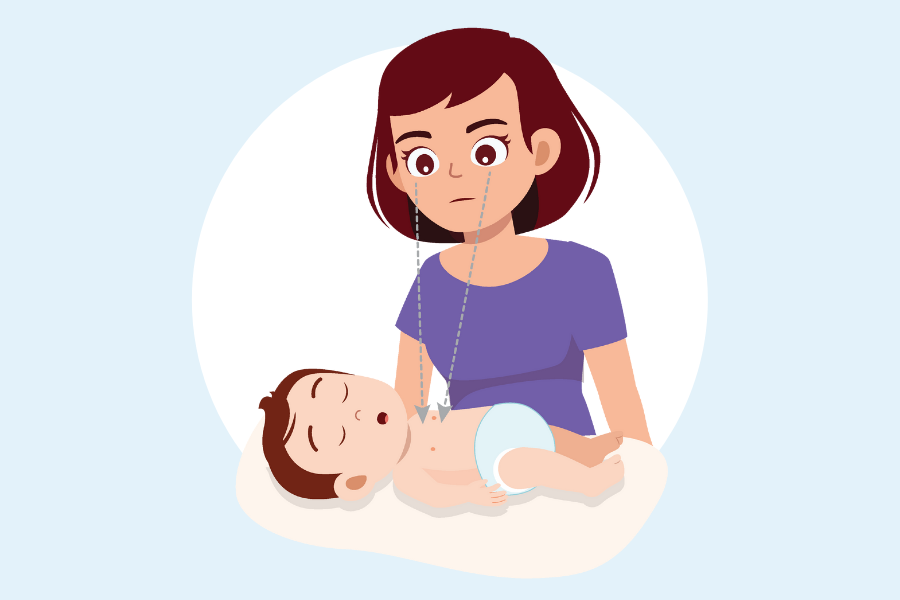
Locating sternum for chest compressions
- Use your index finger to draw an imaginary line between the nipples to the centre of the sternum.
- Place your middle (third) and ring (fourth) fingers next to your index finger in an upright position.
- Lift your index finger but maintain the middle and ring fingers on the sternum and perform 30 chest compresions.Compress 100 to 120 times per minute, at a depth of 3 to 4cm.
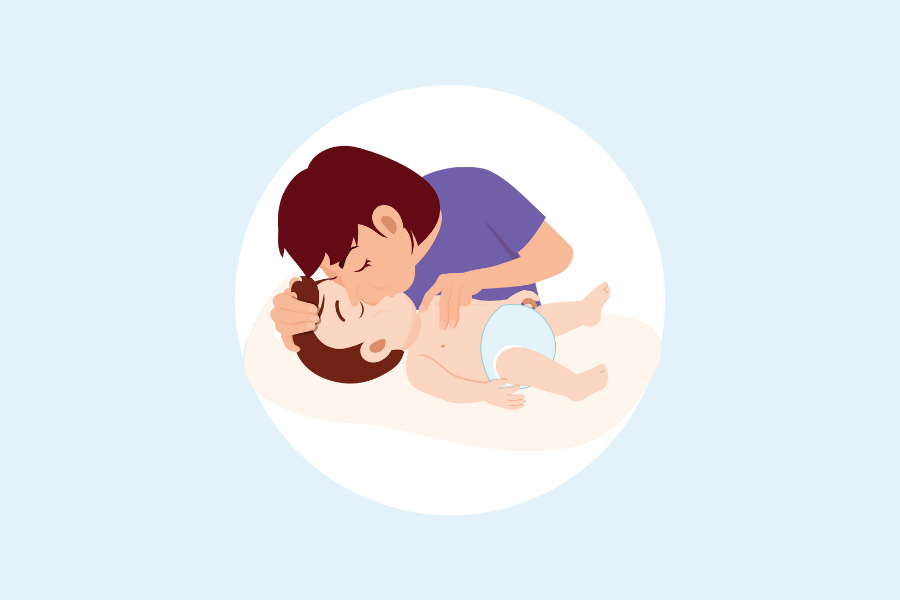
Step 7: Mouth-to-mouth and nose ventilations
After 30 compressions, open the airway and perform mouth-to-mouth and nose ventilations.
- Put one hand on the infant’s forehead and place your fingers on his/her chin.
Gently tilt the head back while lifting the chin. Do not hyper-extend the infant’s airway.

- Make a tight seal by placing your mouth over the infant’s mouth and nose.
- Give 2 quick and short breaths, each lasting 1 second.
- Continue with 30 compressions and 2 mouth-to-mouth and nose ventilations until help arrives or normal breathing returns.
- If infant resumes breathing, place him/her in a lateral position or carry him/her till help arrives. Do not leave the infant unattended.
Watch this video to understand the steps:


